 Discover the secret to perfect smoky eyes with **smoky eyes eyelids** double-lift hacks! This 5-minute tutorial shows how eyelid tape and a cream lift finish create a visible crease—so your gradient shadow doesn’t disappear when you open your eyes. Learn what to prep in under 60 seconds, how to map the lifted lid for symmetry, and exactly where to place transition shades, deep smoke, and center shimmer. Plus, avoid common smoky eyelids mistakes and get a longer-lasting, drama-filled look without the stress. Click for the full easy step-by-step!
- 1. Why smoky eyes + double-lid hacks work together
- 2. What you’ll need (and why)
- 3. Prep your eyelids in under 60 seconds
- 4. Map the double lift using eyelid tape
- 5. Create the smoky eye base (cream first, powder after)
- 6. Add depth, then “double up” the drama
- 7. Cream lift finish: fast, comfy, believable
- 8. The 5-minute timeline (yes, really)
- 9. Common smoky eyelids mistakes (and fixes)
- 10. Shop the double-lift essentials
- 11. Quick FAQ
- 12. Final thoughts: your smoky eyes, but upgraded
Why smoky eyes + double-lid hacks work together
If you’ve ever tried a smoky eyes look and thought, “The makeup is cute… but where did my crease go?”, you’re not alone. Smoky eyes are all about depth—shadow placement, blending, and that delicious gradient from lash line to brow bone. But smoky eye magic is harder when the eyelid “disappears” into a fold or hooded area.
That’s where smoky eyes eyelids double-lift hacks come in. By using eyelid tape and a cream lift finish, you can temporarily lift the lid to reveal more space for your shadow. Translation: you get a more defined smoky effect without needing to reinvent your whole face.
Also, I’m a firm believer that beauty should feel like a win, not a fight. If your eyeliner smudges faster than your friend’s snack disappears, this tutorial is your new bestie.
What you’ll need (and why)
Before we go full smoky wizard, gather your tools. This routine is designed to feel like a quick glam, not a 45-minute audition.
Core smoky eye items
- Smoky eye palette (matte + shimmer/bright highlight shades)
- Crease/transition shade (soft brown or taupe)
- Deep shade (charcoal, espresso, or deep plum)
- Lid shimmer (optional) for that “did you just glow?” moment
- Eye cream base (optional) if your shadows grab or crease early
Double-lift essentials
- Eyelid tape for the double-lift structure
- Eyelid lifting cream to lock in the look comfortably
- Applicator (tweezers or fingertips—use whatever keeps you calm)
Quick product link placeholders (for shopping)
Want to shop while you read? Here are the exact items you’ll see referenced later:
Double-lift eyelid tape for drooping lids
Eyelid lifting cream for defined double lids
Lifting essence cream for a softer, smoother finish
Dual-tone eyeshadow palette for smoky eyes
Styling shaping cream for long-lasting eyelid lift
Prep your eyelids in under 60 seconds
We’re aiming for “freshly done,” not “mysterious shadow fallout.” The key to smoky eyes is smooth, even application—so your eyeshadow blends like butter instead of sand.
Step 1: Clean + dry
Start with clean lids. If you’re wearing skincare, let it settle for a minute so tape and cream don’t slip. (Tape doesn’t love wet eyelids. Honestly, neither do I.)
Step 2: Optional thin base
If your eyes are prone to creasing, apply a very thin base layer (cream shadow or a light primer). Keep it subtle—too much product can make tape placement harder.
Step 3: Quick blot
If you notice any shine, lightly blot with a tissue. You want a surface that will hold shadow and lift without dragging.
Map the double lift using eyelid tape
This is the “double-lift” part that makes smoky eyes look extra visible. The goal is to create a fresh-looking crease area—then place your shadow with confidence.
Step 1: Find your natural lift point
Look straight into a mirror. Gently lift your lid with your finger to see where your crease naturally wants to land. That’s your guide.
Step 2: Place tape strategically
Use eyelid tape designed for double-lid lifting. Apply the strip close to the eyelid fold line—short enough that it won’t poke the inner corner, long enough to create lift.
Pro tip: keep it “firm but not mean”
Press the tape down lightly, then blink a few times. You should feel support, not pressure. If it feels uncomfortable, adjust immediately. Your eyes should never feel like they’re being asked to hold a secret.
Step 3: Create symmetry
Match both eyes by checking your mirror view from the front, then from slightly above. Tape placement is easiest when you’re patient for five seconds. I promise—your future self will thank you.
If you want to jump straight to the tutorial product details, here’s a direct link with matching anchor text: eyelid tape patch for drooping lids . (Yes, it’s as dramatic as it sounds—in the best way.)
Create the smoky eye base (cream first, powder after)
Now that your double lid is visible, smoky eyes become easier because you can actually see where to blend.
Step 1: Apply transition shade
Use a soft brown/taupe in the crease area created by the tape. Blend upward slightly, and stop short of the brow bone—think “lift,” not “mud.”
Step 2: Lay the cream (if you use cream products)
For smoky eyes, cream can be your secret weapon. Apply a thin layer along the lash line and outer third, then blend with a small brush or fingertip for quick payoff.
Step 3: Add depth with a deeper shade
Tap a darker shade (charcoal/espresso) into the outer corner and along the lash line. Keep it tight at first. You can always add more, but you can’t easily “remove smoke” once it’s bonded.
Quick anchor: palette that supports smoky looks
For a fast smoky eye, a dual-tone palette helps you move quickly from matte to sparkle. Try a palette like this: dual-tone obsidian palette .
Add depth, then “double up” the drama
This is where your smoky eyes start looking expensive. We’re going to layer strategically so the shadow shows up even with the lid movement.
Step 1: Smudge shadow near the lashes
Use a smaller brush to press deeper shadow closer to the lash line. Keep the blend softer toward the middle.
Step 2: Create a gradient on purpose
The smoky eye gradient should go like this: dark → softer → lighter. This keeps your eyes looking dimensional, not flat.
Step 3: Optional shimmer highlight
Add shimmer to the center of the lid (or just above it) for that fresh “light catching” effect. The double-lid reveal makes shimmer look extra punchy.
Small joke, big truth
If your smoky eye looks like it needs more drama, it doesn’t need more product—it needs better placement. Makeup is like a good playlist: you want the right track at the right moment, not just louder volume.
Step 4: Blend with the tape crease in mind
As you blend, follow the lifted crease created by the tape. This helps the shadow sit where it actually shows when your eyes are open.
Cream lift finish: fast, comfy, believable
Time for the cream part—this is where your smoky eyes look synchronized with your double lift. Think of the cream as the “settling down” step: it helps keep the lifted lid from relaxing too quickly.
Step 1: Apply a small amount
Use a minimal amount of eyelid lifting cream. Too much can feel tacky and disturb your shadow. We want it light, not sticky-glue-y.
Step 2: Focus where the lid folds
Apply along the lifted crease area—especially where the tape effect is most visible. Blend gently.
Step 3: Wait and set
Give it a moment to set before you touch anything else. It’s like letting cookies cool—if you rush it, it breaks.
Shop the lift cream (with a playful anchor)
Here’s a lifting cream option you can use for that “double-lid confidence” effect: magic big double eyelids cream .
Another gentle option is an eyelid lifting essence product: lifting essence cream for definition .
Want a shaping version too? This styling cream is designed for lift and staying power: big styling shaping cream .
The 5-minute timeline (yes, really)
Let’s make this realistic. Here’s how to hit a 5-minute smoky eyes eyelids double-lift look without panicking when your phone timer goes off.
Minute 1: Prep + tape placement
- Clean/dry lid
- Apply eyelid tape and press into place
- Check symmetry with a blink
Minute 2: Transition + outer depth
- Blend transition shade in the new crease
- Add deeper shade to outer corner and lash line
Minute 3: Cream/extra smoke + blend
- Use cream product if you have it
- Smudge and blend edges until smooth
Minute 4: Shimmer + center highlight
- Tap shimmer on center of lid
- Re-blend the outer edge if needed
Minute 5: Cream lift finish
- Apply tiny amount of lifting cream
- Let it set
- Step back and admire (you earned it)
If you want a quick reference to the exact tutorial concept, here’s a matching anchor with a direct link: double-lift cream step .
Common smoky eyelids mistakes (and fixes)
Let’s troubleshoot gently. Most issues aren’t “you,” they’re just tiny technique tweaks—like using the wrong brush size or blending too aggressively.
Problem: Shadow disappears when you open your eyes
Fix: Re-check tape placement. Your crease may be too low or too high. Adjust the tape so your lifted lid matches where you placed the transition shade.
Problem: Tape shows through the eyeshadow
Fix: Use a thin layer of transition shade over the tape area. Press color rather than scrubbing to keep it seamless.
Problem: Smudgy fallout under the eyes
Fix: Start with darker shades only at the outer third and lash line. If you want more smoke, build gradually.
Problem: Cream lift feels too tacky
Fix: Use less product and place it closer to the crease line. If you apply too wide, it can shift makeup.
Problem: Uneven smoky gradient on both eyes
Fix: Blend from the same points on both sides. A quick mirror check with consistent lighting saves so much time. (Lighting is a diva, not your eyes.)
Shop the double-lift essentials
If you want to recreate this smoky eyes eyelids look again and again, stocking the right essentials is the easiest shortcut. Here are the matching products featured in this tutorial—tap through when you’re ready.
1) Eyelid tape patches for a lifted double crease

2) Eyelid lifting cream for defining double lids
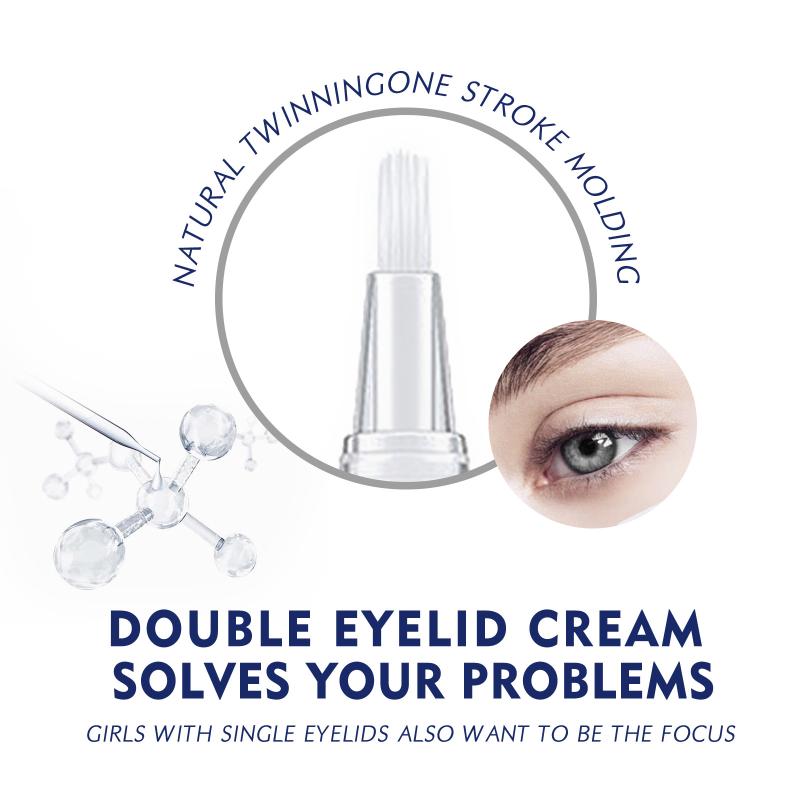
3) Eyelid lifting essence cream (for a smoother feel)

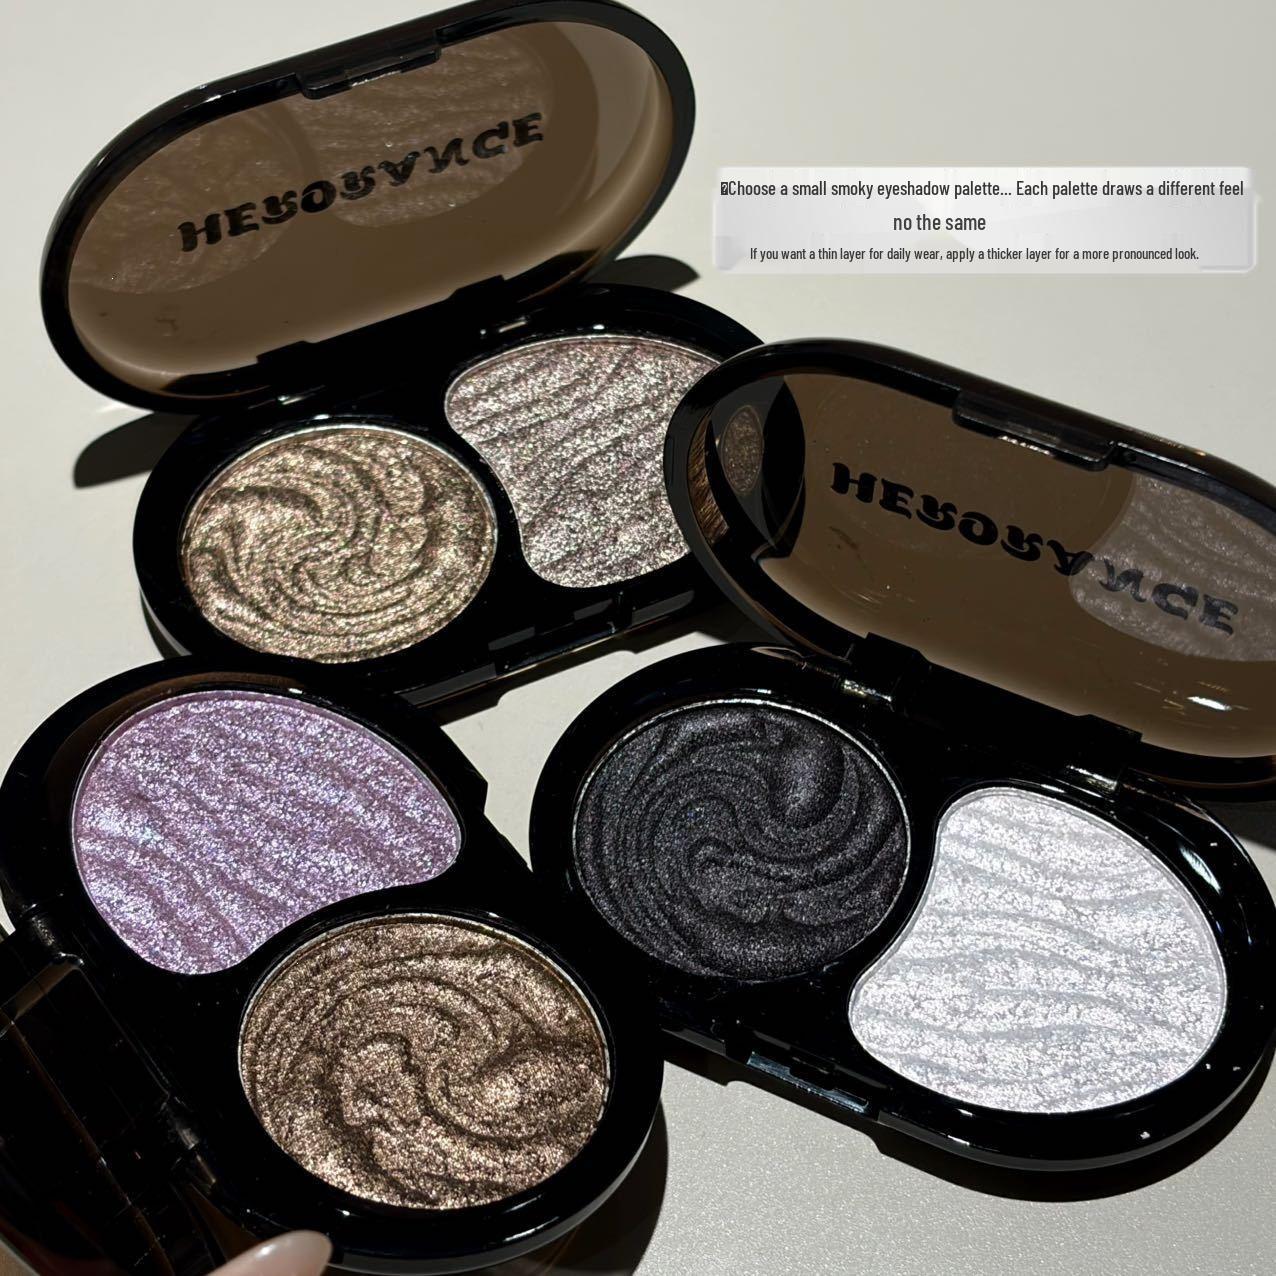
4) Dual-tone smoky eyes palette
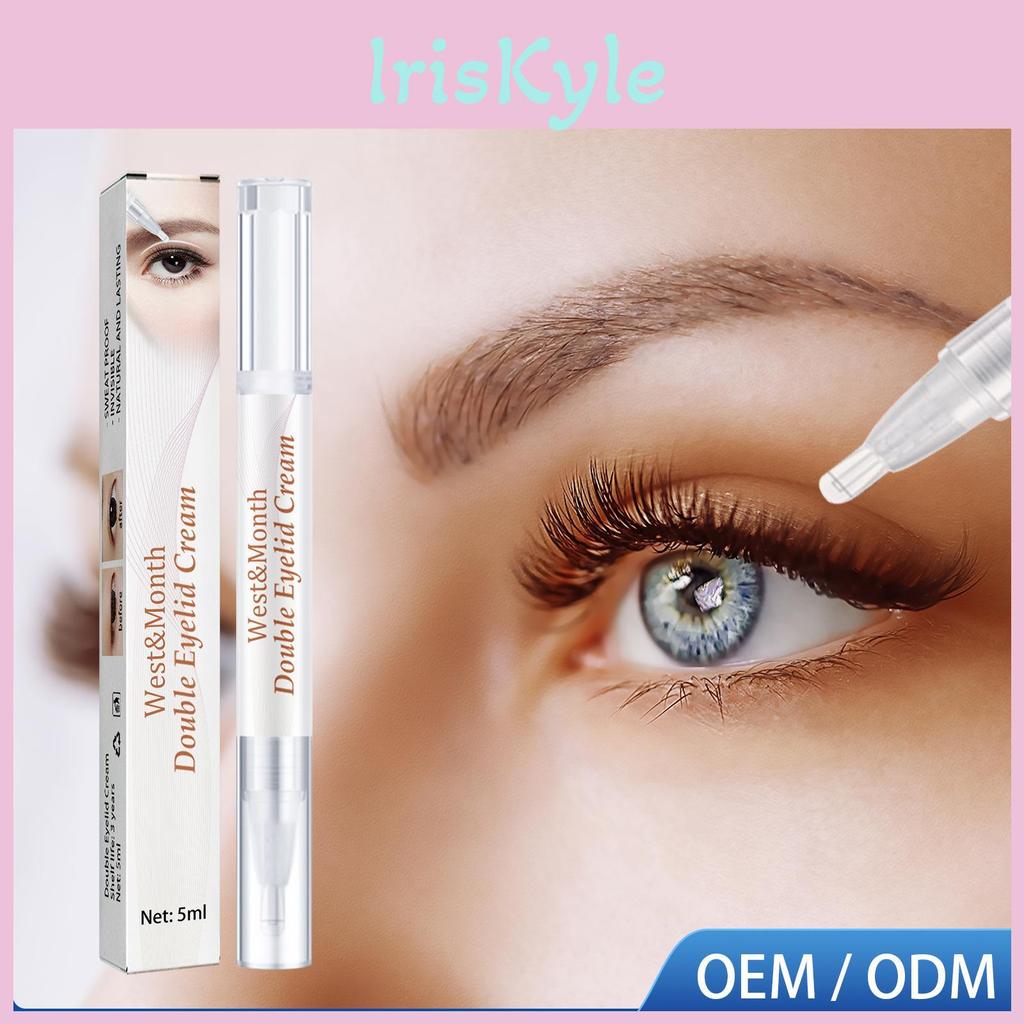
5) Big styling shaping cream (extra staying power)
And if you like having a direct “start here” button, here you go: 5-minute smoky eyes eyelids shopping .
Quick FAQ
Is this smoky eyes routine beginner-friendly?
Yes. If you can blend eyeshadow, you can do this. The tape just gives you a clearer canvas. If it feels tricky at first, don’t panic—beauty is trial-and-smile, not perfection on the first try.
Can I do a lighter smoky eye instead of full-on glam?
Absolutely. Use softer shades, keep the deep shadow closer to the lash line, and go easy on shimmer.
Will the tape and cream damage my eyes?
When applied correctly and removed gently, they’re designed for cosmetic use. Always follow the product instructions and be careful around sensitive areas.
What’s the biggest key to making smoky eyes look better on lifted lids?
Placement. Blend where your crease actually shows, not where it “usually” would if tape wasn’t involved.
Final thoughts: your smoky eyes, but upgraded
That’s it—your 5-minute smoky eyes eyelids tutorial with double-lift hacks using eyelid tape and cream. Once you try it, you’ll notice the difference immediately: more visible depth, cleaner gradients, and a smoky eye that actually stays smoky when your eyes are open.
And on a personal note: I love routines like this because they make makeup feel friendly again. No drama queen shadows. No “why does my crease vanish?” mystery. Just a lifted lid and a smoky finish that looks like you meant to do it all along.
Now go enjoy your glow—gently, confidently, and with just enough sparkle to make your mirror say “okay, wow.”
Comments
Post a Comment