Table of Contents
- Why the Smoky Eye Still Wins
- Products You’ll Need
- Prep & Base
- Step 1 — Define the Shape
- Step 2 — Layer with the Surratt Baton
- Step 3 — Smoke and Blend
- Step 4 — Lash Focus with Bobbi Brown Mascara
- Step 5 — Finishing Touches
- Pro Tips & Troubleshooting
- Quick FAQ
- Wrap-up & Final Look
Why the Smoky Eye Still Wins
The smoky eye is a timeless look: sultry but adaptable, dramatic yet wearable. Whether you're aiming for a soft daytime smudge or a sultry, club-ready intensity, the smoky eye enhances eye shape, balances strong lip colors, and sends a subtle "I showed up and I look fabulous" message. Think of it as the little black dress of makeup—chic, versatile, and always in style. Also, it pairs extremely well with a good playlist and a cup of tea while you practice — multitasking, upgraded.
Products You’ll Need
For this guide we recommend two hero products for a strike-perfect smoky eye: the SURRATT Smoky Eye Baton for creamy, blendable intensity and the Bobbi Brown Smoky Eye Mascara to frame and lift the lashes. Use a few staple tools and extras too (see below). If you want to click through and view the actual products, you'll find product images and links here:


And because variety is the spice of life (and links are the backbone of a thriving wishlist), here are a few more direct product links with different anchor texts—because everyone likes a choice, right?
Shop the SURRATT Smoky Eye Baton
Explore Bobbi Brown's Smoky Eye Mascara
Accessorize with a Golden Brown Bracelet
Discover the Smoky Quartz Bracelet
Prep & Base
Good makeup begins with good prep. This doesn't need to be a full spa ritual—simple steps deliver a clean canvas:
- Cleanse and moisturize the eye area. A well-hydrated lid prevents patchy creasing and helps creamy products blend like butter.
- Prime the lids. Use a lightweight eyeshadow primer or a skin-tone concealer to even out the lid and boost product staying power. If you prefer a more natural finish, a thin layer of translucent powder over primer helps control shine.
- Gather brushes: a sharp pencil brush for definition, a flat shader brush for packing product, and a fluffy blending brush for diffusion. Also, keep cotton swabs and a clean spoolie nearby for emergency cleanup (we all have those nights).
Step 1 — Define the Shape
Start by defining where your smoky effect will live. Decide whether you want a rounded, cat-eye, or soft diffused shape. I like a slightly elongated outer corner for most looks—it's flattering and lifts the eye.
- Use a soft brown or mid-tone grey pencil to draw along the upper lash line, connecting to the outer corner. Don’t worry about precision—smoky is meant to be imperfect (and charmingly rebellious).
- Smudge the line gently with a pencil brush to soften any harsh edges. This base layer gives the baton something to cling to and delivers better depth.
Step 2 — Layer with the Surratt Baton
The SURRATT Smoky Eye Baton is perfect for this step because it glides on creamy and blends seamlessly. Apply it where you want the most intensity—usually the lash line and outer V—then soften outward.
How to apply the baton
- Apply the baton along the upper lashes in short strokes.
- Also add a little to the lower outer lash line for balance, keeping the inner lower lash line lighter for brightness.
- Before the product sets, use a flat shader brush or your fingertip to slightly diffuse the edges. The baton’s creamy texture makes blending quick and forgiving—instant confidence boost.
Want to see the exact baton? Here’s where to view it online: SURRATT Baton details. Pro tip: if your baton is chilling in the winter, warm it on the back of your hand before applying for smoother glide.
Step 3 — Smoke and Blend
This is where the look becomes truly smoky. Layering and blending are your best friends—think of it like building a cozy campfire rather than setting off fireworks. You want glow, not alarms.
- With a fluffy blending brush, sweep across the crease to diffuse the baton outward, focusing on softening harsh edges.
- Press a matte brown or grey shadow on top of the baton to set the cream and deepen the color. This step also increases longevity and prevents smudging during long nights of fabulousness.
- Gently blend the outer edge upward and outward for lift. Keep checking from a bit farther away to ensure the shape reads soft and intentional.
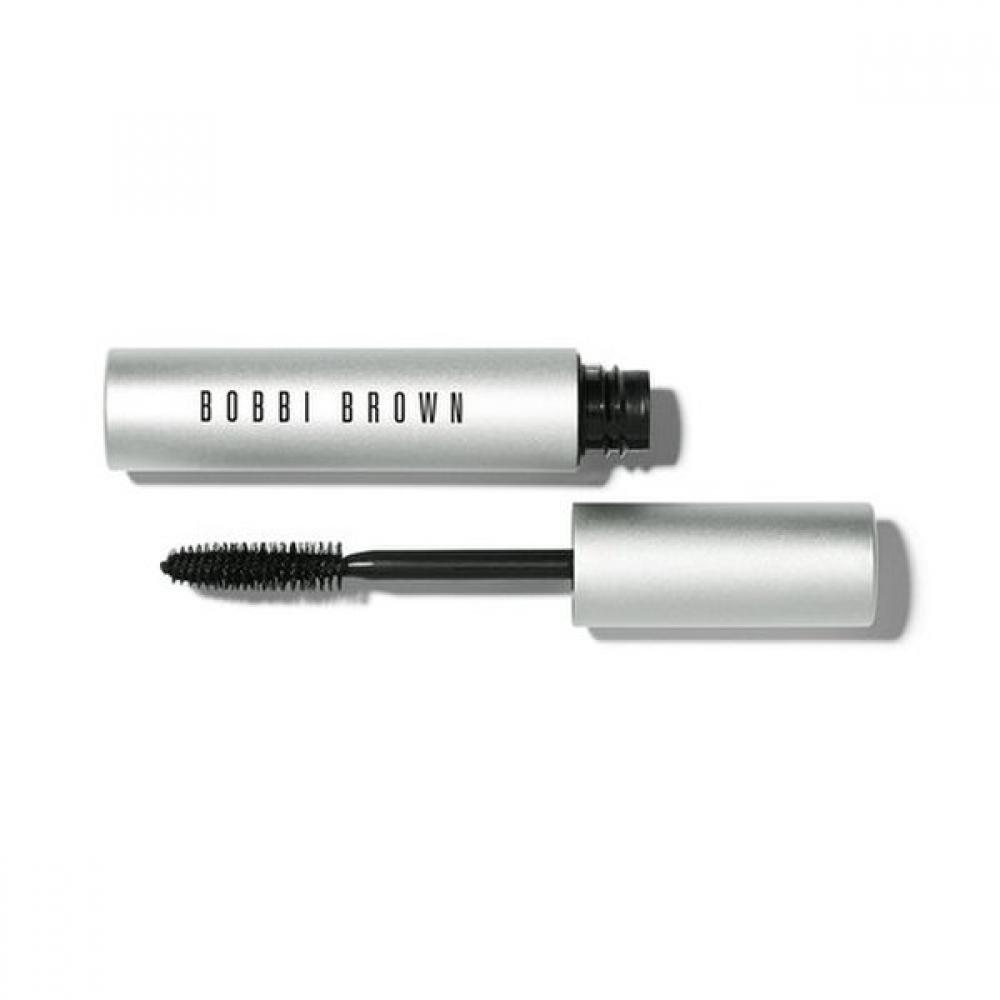
Step 4 — Lash Focus with Bobbi Brown Mascara
Lashes finish the smoky look by framing the eye and adding contrast. The Bobbi Brown Smoky Eye Mascara is designed to volumize without creating clumps—think dramatic lashes that still feel elegant.
How to apply mascara like a pro
- Wiggle the wand at the base of the lashes and sweep upward to the tips. The little wiggle deposits pigment where it matters most—at the roots—so your lashes look fuller.
- Use the tip of the wand to catch lower lashes and the outer corners for a fanned effect.
- If you need separation, run a clean spoolie through the lashes after the first coat. Two coats are usually enough for most days; add a third if you’re going cinematic.
Curious about the mascara? Peek here: Bobbi Brown Mascara link. And if you’re into two options for the same perfect mascara, here’s another path: alternate Bobbi Brown link.
Step 5 — Finishing Touches
Little details elevate a smoky eye from "nice" to "no-phone calls, I'm busy looking fabulous":
- Highlight the inner corner with a tiny bit of champagne or soft pearl to open the eye.
- Clean up edges with a thin swipe of concealer for a crisp outer edge, if desired.
- Balance the look: keep lips neutral for maximum eye drama or go bold with a matte red if you’re feeling cinematic. Either way, pair with a calming playlist—music makes everything look more put-together.
Pro Tips & Troubleshooting
For hooded eyes
Keep the darkest pigment slightly above the natural crease and blend upward so the depth shows when your eyes are open. Use a matte shade to avoid emphasizing fold lines—glitter is a diva and has demands.
For oily lids
Set cream products with a matching powder shadow to limit migration. A tiny bit of powder around the lash line pre-mascara helps prevent smudging.
Quick fixes
- Smudged under-eye? Dip a cotton swab in micellar water and lift—no scrubbing required.
- Lashes clumped? Comb through with a clean spoolie before the mascara fully sets. Sometimes lashes need a little therapy too.
Quick FAQ
Q: Can I use the baton as an eyeliner? A: Absolutely. For a softer liner, smudge immediately after application.
Q: How many coats of mascara? A: Two is classic; three if you’re channeling movie-star energy.
Q: Will this look work for daytime? A: Yes—keep the outer edges softer and use lighter brown tones for a daytime-appropriate smoky eye.
Wrap-up & Final Look
By combining the creamy precision of the SURRATT Smoky Eye Baton with the lash-defining power of Bobbi Brown Smoky Eye Mascara, you can create a smoky eye that’s smoky in all the right ways—mysterious but polished, sultry but unmistakably you. Play with intensity, experiment with different shapes, and remember that the smoky eye is as much about attitude as it is about technique. Smile at your reflection (it helps set the makeup), and then go out and be the smoky-eyed wonder you were born to be. If you prefer wrist candy while you do your makeup (no judgement), check out that golden brown luster bracelet we linked earlier—because every smoky-eye session should feel like a little celebration.
And because variety is the spice of both life and shopping, here are the product links again for easy clicking: Grab the SURRATT Smoky Eye Baton and the Bobbi Brown Smoky Eye Mascara (and maybe a sparkly bracelet if you’re feeling blessed).
Now go forth, blend boldly, and remember: the smoky eye is not just a look—it's a mood. If you found this helpful, share it with a friend who always borrows your mascara (you know who they are). If makeup were a language, you just learned a very flirtatious dialect. Wink once for success, twice for extra volume.
Comments
Post a Comment