
Why Winged Eyeliner?
Winged eyeliner is one of those makeup moves that can instantly lift the eyes, add drama, and turn a simple look into something iconic. It’s versatile—sultry cat-eye for date night, sharp graphic wings for fashion-forward days, or a soft flick for everyday polish. If you’ve ever felt like your eyes need a little more personality, winged eyeliner is the magic wand. Plus, once you get the hang of it, it’s fast. Think of it as the espresso shot of your makeup routine.
Prep: What You Need to Know
Skin and Eye Prep
Clean, moisturized eyelids are the best canvas. If your lids are oily, eyeliner smudges more easily or transfers. Use a lightweight, oil-free eye primer or a touch of translucent powder to set the lid. Don’t forget to curl your lashes and add a coat of mascara before or after your liner depending on how neat you want the line to be—experiment and choose what works for your lash type.
Consider Your Eye Shape
- Almond eyes: Lucky you—most wing styles suit you. Keep the wing in proportion to your outer corner for balance.
- Hooded eyes: Draw the wing slightly higher than your natural lash line so it’s still visible when your eyes are open.
- Round eyes: Extend the wing outward to elongate; keep the flick thin at the outermost corner.
- Monolid eyes: A thicker line close to the lash line helps create contrast; build slowly and check with eyes open.
Tools & Product Recommendations
What to Use
There are three main types of eyeliners for wings: liquid, gel, and pencil. Each has pros and cons:
- Liquid liners: Offer the sharpest, most precise lines. Great for ultra-crisp wings but can feel unforgiving if you’re a beginner.
- Gel liners: Smooth, pigmented, and slightly more forgiving. Use with an angled brush for clean lines and control.
- Pencil liners: Best for a softer, smoked look. Can be sharpened to a fine point but won't give the same intensity as liquid.
Must-Have Tools
- Angled brush (for gel liner)
- Fine-tipped liquid liner or an eyeliner pen
- Q-tips and micellar water for quick corrections
- Translucent powder or eye primer
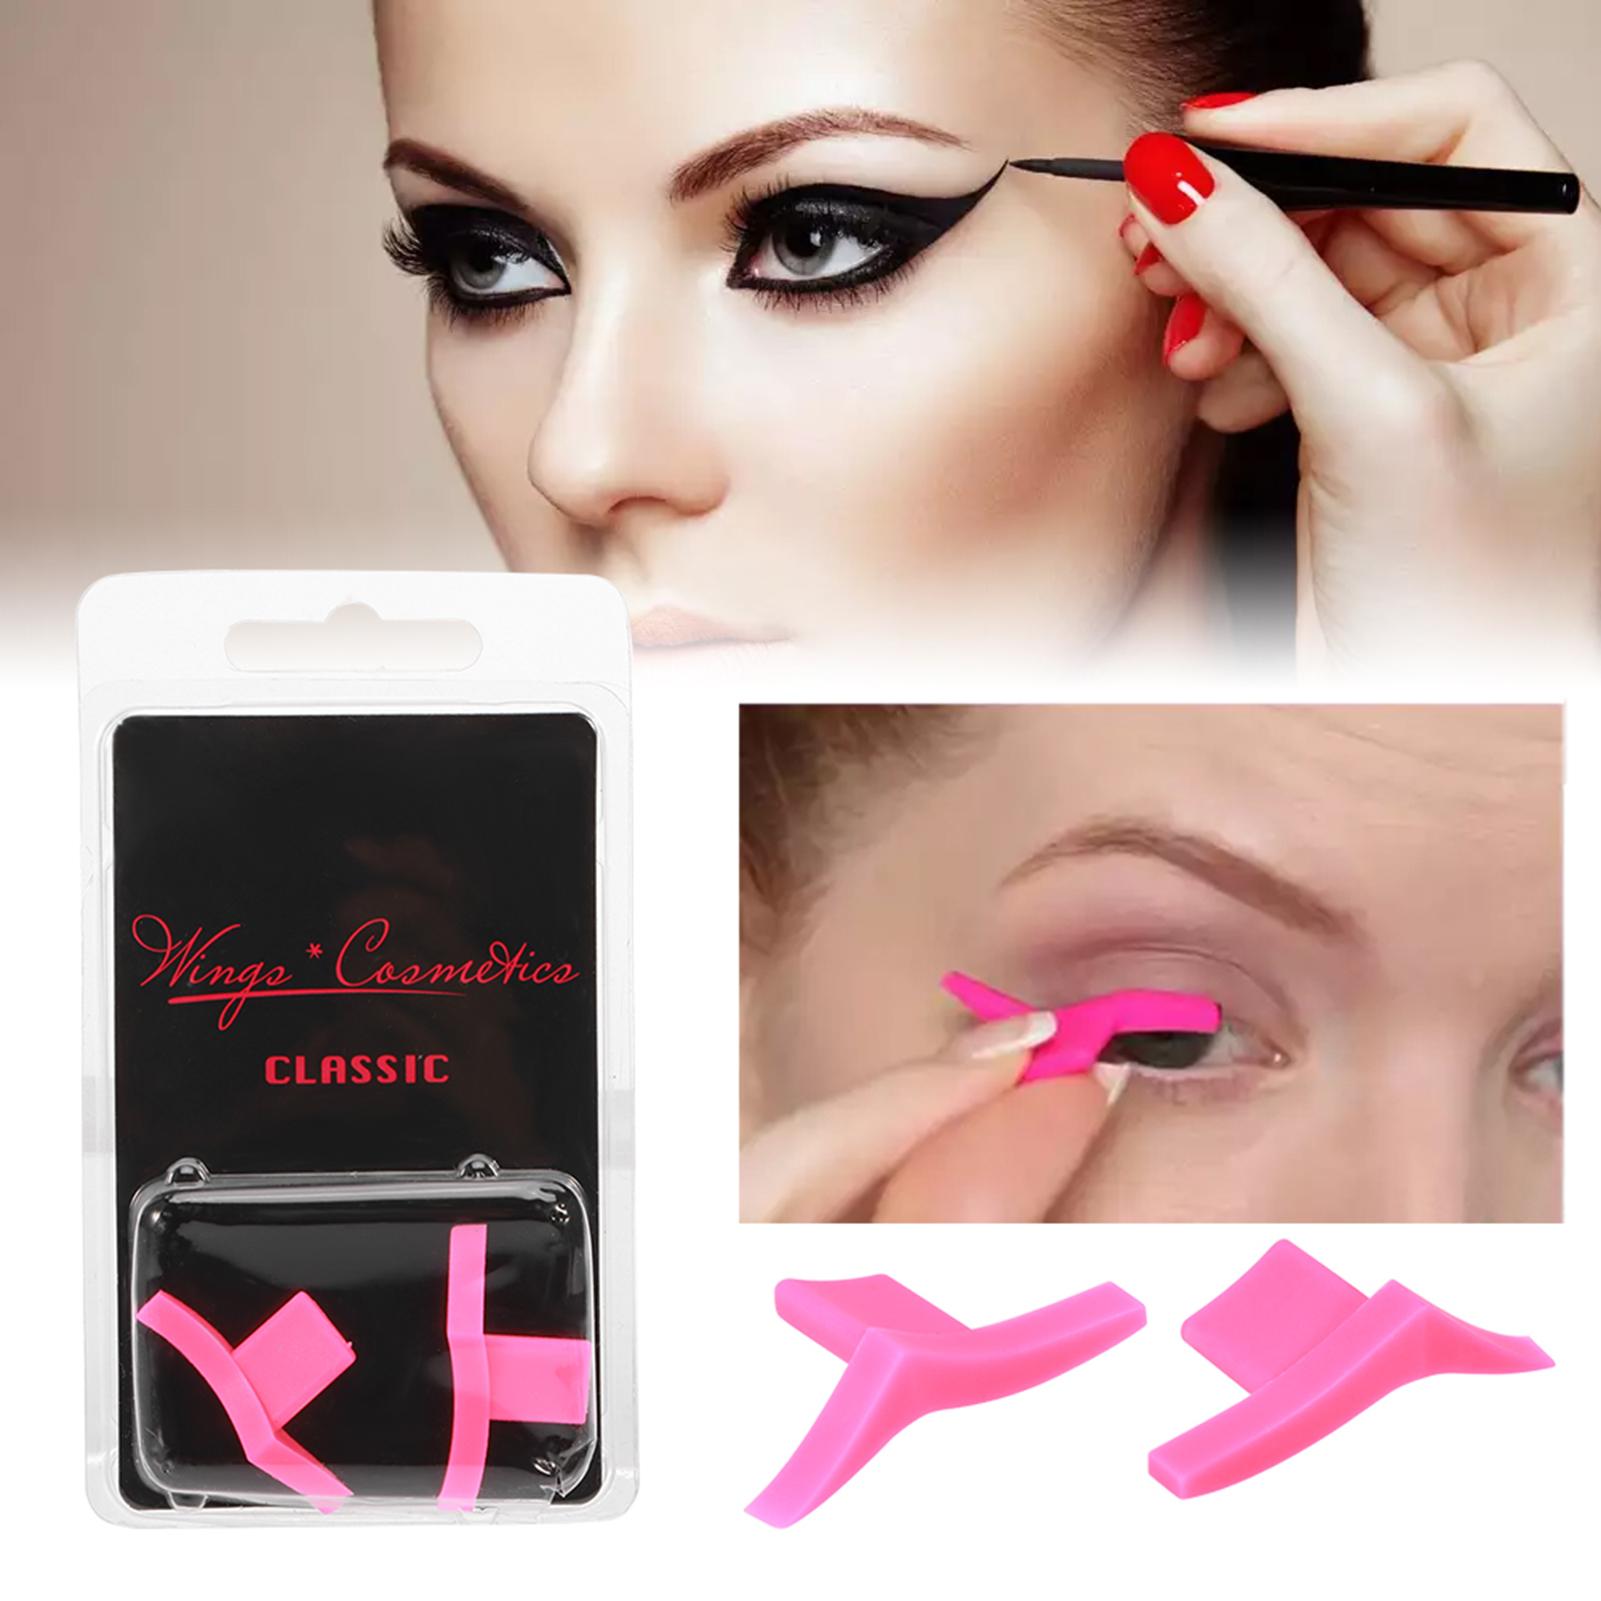
- Small piece of tape (optional)—useful as a guide for symmetry
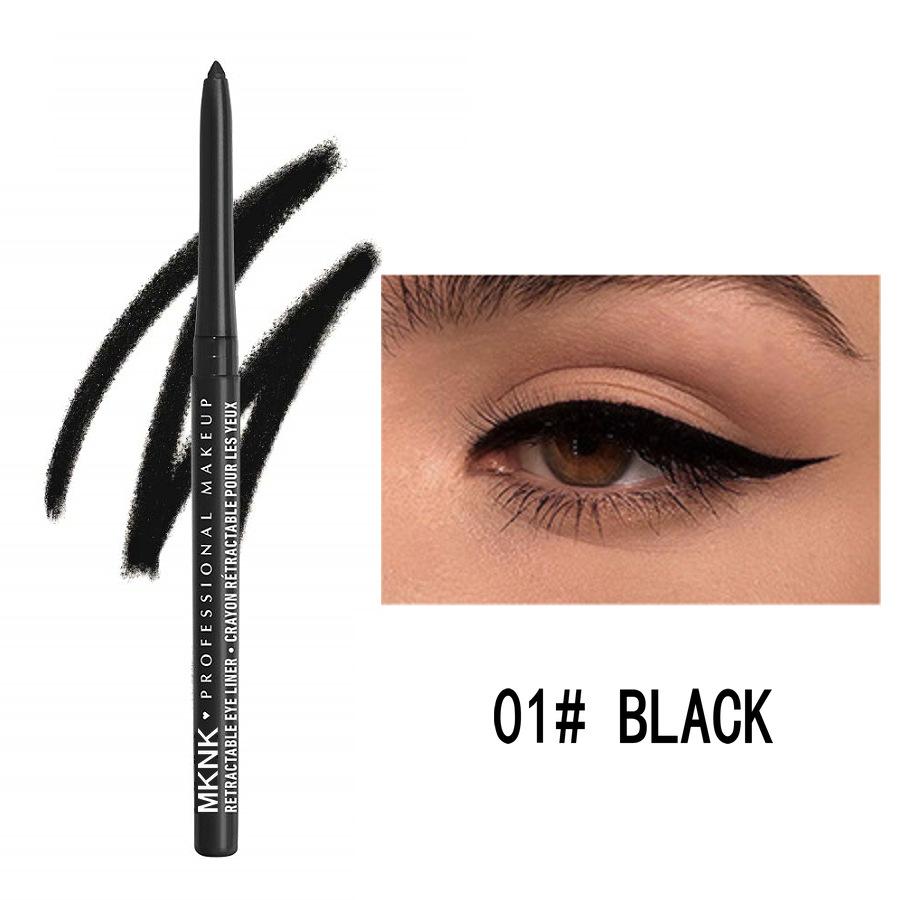
Our Go-To Product
Try this waterproof gel pencil for lasting color and easy application:
Step-by-Step Application
Step 1 — Map the Angle
Stand facing a mirror. Imagine a line from your lower lash line toward the tail of your eyebrow—this is the direction your wing will take. For a quick guide, place a small piece of tape from the outer corner toward the end of your eyebrow for symmetry. Yes, it’s allowed to rely on small cheats—this is makeup, not origami.
Step 2 — Draw the Wing First
With a sharp or fine-tipped liner, draw a short line starting from the outer corner extending outward to your desired length. This “tail” sets the angle and length, so take a breath and visualize before committing. Think of it as drawing an arrow that points to "fabulous."
Step 3 — Connect to the Lash Line
From the tip of the wing, draw a diagonal line back toward the center of your upper lash line, creating a small triangle. Fill it in. This method avoids frantic short strokes along the lid and creates a clean, crisp wing every time.
Step 4 — Line the Rest of the Lash Line
Draw a thin line from the inner corner to meet the triangle. Keep the line as close to the lash roots as possible for a natural effect. If you want a more dramatic look, gradually thicken the line as you move outward.
Step 5 — Perfect the Shape
Use a small angled brush or a sharp cotton bud dipped in micellar water to clean any edges. If you used tape, gently peel it away for a sharp edge. Symmetry is important, but don’t stress—faces are human and perfect symmetry is optional. Practice will make these two wings best friends.
Pro Tips & Variations
Quick Tips to Improve Speed & Symmetry
- Work in small strokes rather than one long line if you’re nervous—this gives more control.
- Keep your elbow resting on a flat surface for steadier hands. Your bathroom counter is now your beauty command center.
- For mirrored wings, mark a dot where your wing tip should be on both eyes, then connect inward.
Variations to Try
Classic Cat-Eye
A medium-length wing with a slightly thicker line at the outer third of the eye. Elegant and timeless.
Graphic Floating Wing
Draw a wing that doesn’t connect to the lash line—floating slightly above it. Bold, editorial, and excellent for expressing your inner runway model.
Smudged Wing
Use a pencil liner and smudge the outer corner for a softer, smoky effect. Works beautifully for evening looks when you want drama without sharp edges.
Fixing Mistakes & Troubleshooting
Common Problems and Quick Fixes
- Jagged edge: Clean up with a pointed cotton bud dipped in micellar water or a tiny bit of concealer on an angled brush.
- Uneven wings: Add a little liner to the shorter side and then refine both with concealer to sharpen shapes.
- Transfer or smudging: Set the liner with a matching eyeshadow shade or apply a small amount of translucent powder on the lid before applying liner.
When Nothing Works
If you wake up and your liner just won’t cooperate, step back, breathe, and remove it—respect your wings' feelings. Reapply from a fresh start. Pro tip: removing and starting over often gives a better result than trying to rescue a train wreck. And yes, we speak from experience.
Shop This Look
Here are some items that pair perfectly with your winged eyeliner routine. Click the links to explore:
Shop a long-lasting gel pencil for precise wings
Try an angled brush for gel liner application
Discover waterproof liquid liners for a crisp finish
Explore setting powders and primers for oily lids
Find cleansing swabs and makeup removers for quick fixes
Final Thoughts
Winged eyeliner is equal parts technique, patience, and personality. It’s okay if your first attempts look like two imperfect little birds—practice lands you a majestic peacock (drama included). Start simple, use products that feel comfortable, and don’t be afraid to experiment with thickness, angle, and finish. If you ever feel frustrated, remember: even makeup pros have smudges and bad-wing days. Laugh it off, remove it, and try again—you're learning a skill that rewards patience.
Quick Recap
- Prep your lids: prime or powder to prevent smudging.
- Map the angle first and draw the wing before filling in.
- Use small strokes, steady your hand, and clean edges with a Q-tip or a bit of concealer.
- Shop products that match your desired finish—gel for flexibility, liquid for precision, pencil for softness.
Thanks for spending a few minutes with this guide. Now go practice, take a selfie, and blame it on the makeup if someone asks why you look extra fabulous today. (It’s a totally acceptable reply.) If you need a personalized suggestion based on your eye shape or preferred look—send a photo or describe your style—I’ll gladly play beauty coach.
This comment has been removed by the author.
ReplyDelete